
We purchased a 6ftx6inx1in. piece of oak. It was presanded, but Mr. Mayhem went over it with fine grit sandpaper just to be sure.

After a good wipe down, we stained it with Minwax in Puritan Pine.

Mr. Mayhem stained it (wearing my dishwashing gloves) while I ran for the hills to avoid any fumes that would cause the baby to come out with a third arm or something.

See how pretty the color is!?

We then drilled two holes. One at the top and one at the bottom. We wanted to be able to attach it to the wall very securely. It will be close to the ground (1 foot up), so we didn't want the baby to pull it down once he starts wiggling around.

We then carefully measured the hash marks and taped them off to paint them. We did three different lenghts. 3 inches long each foot, 2 inches long every 3 inches, and all the rest were 1 inch long.

See what I mean in this picture. Little, medium, and long lines.

Then I hid out somewhere and probably ate some chocolate while the white spray paint went on. We had originally planned to use black, but decided with the white trim and furniture in the room, white would be a clean, contemporary look.

We (Mr. Mayhem) did 2 coats then we carefully pulled the tape off while it was still wet. I think this was my favorite part of the project.

Here it is with all its cute little lines.

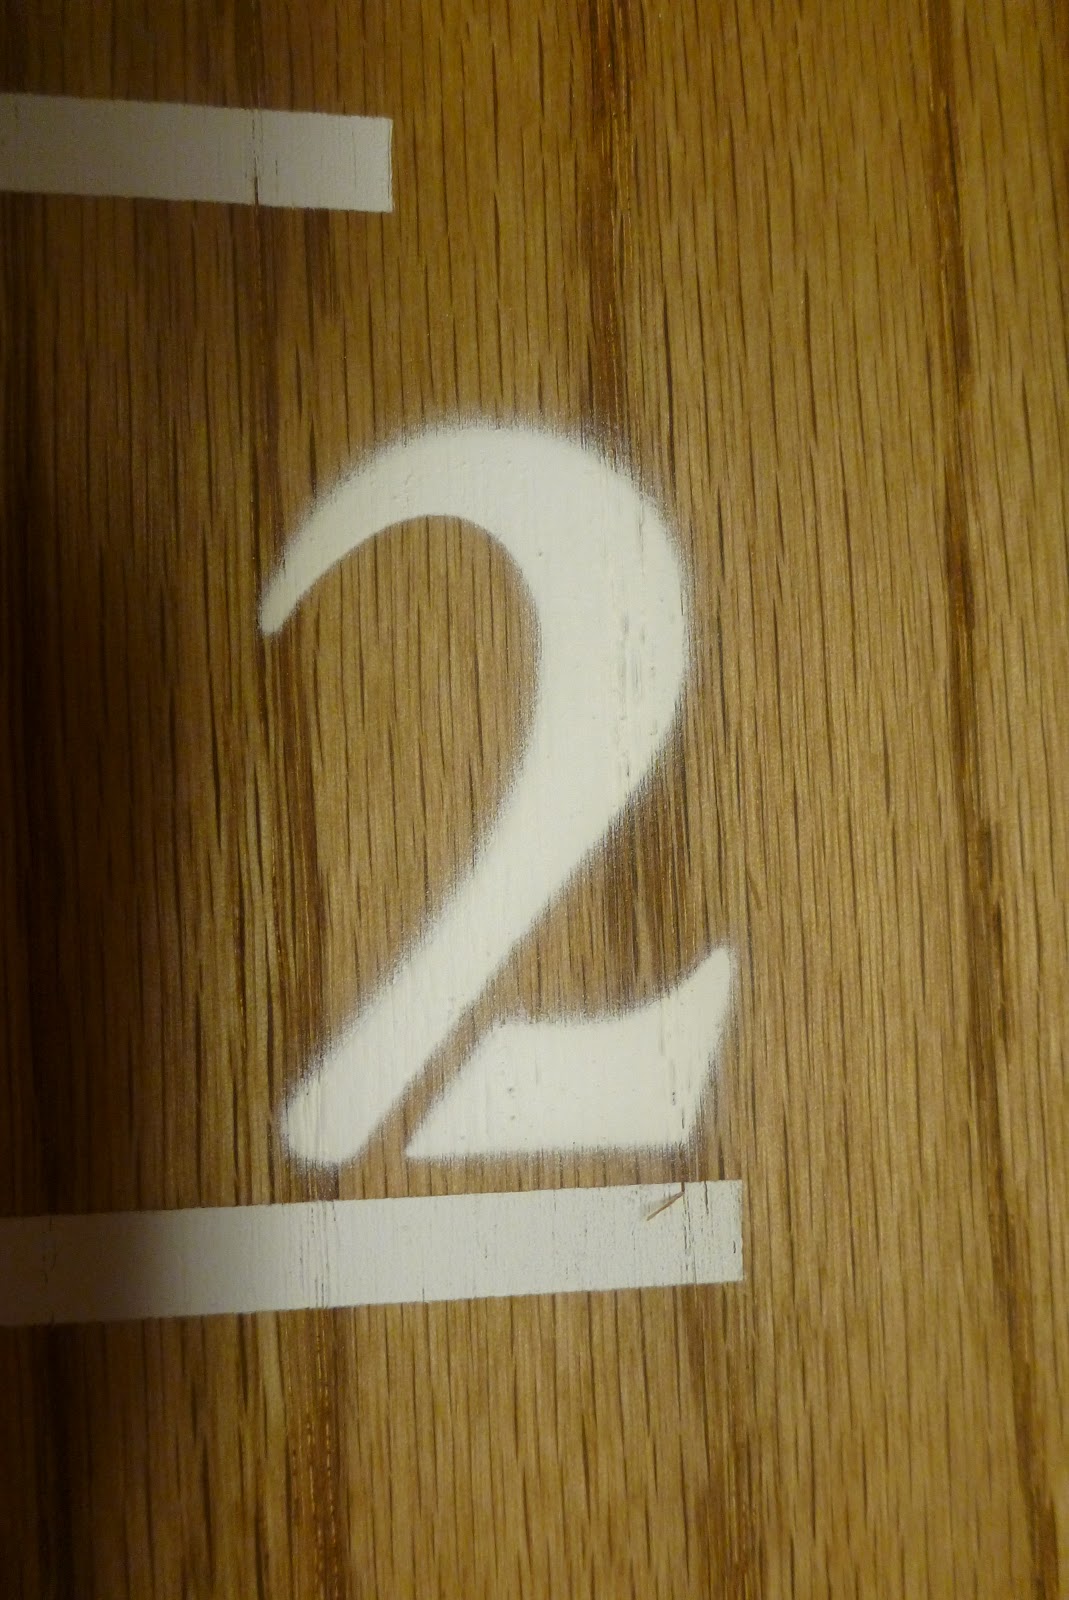
To add the numbers we used some 2 inch stencils I got at Hobby Lobby.

Measured carefully.

Then taped them down and covered everything securely with newspaper. (Proof that I did help with this project...just not the stinky paint parts :-) )


Another round of paint.

It is starting to look like a ruler.

The numbers were a little bit uncrisp for my liking. I think if I changed one thing about how I did this project it would be to buy some stencil adhesive and actually stick the stencils down to the wood to prevent the over spray. Or paint the numbers by hand. Using one of those vinyl cutting systems with adhesive vinyl would work too, I just don't have one.
To finish everything and make it super durable, Mr. Mayhem did three coats of Varathane Matte water based polyurethane.
We started the ruler at 1ft and then were careful to measure and hang it 1 ft off the floor so it will be an accurate measure of height. I think it will be so fun to mark my little man's growth through the years. I love that we can take it down if we ever move. We are also planning to document any future children on this ruler as well. The ruler


That turned out super cute - sorry it took me forever to come look at it! lol
ReplyDeleteThis turned out great. Thank you for the easy step by step directions. I need to make 2 for my two geanddaughters.
ReplyDelete